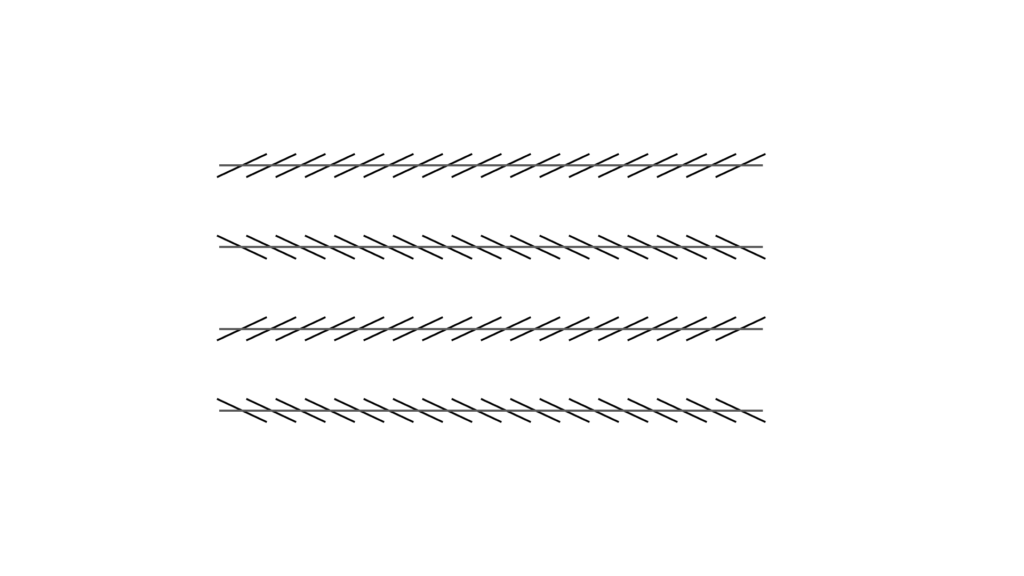
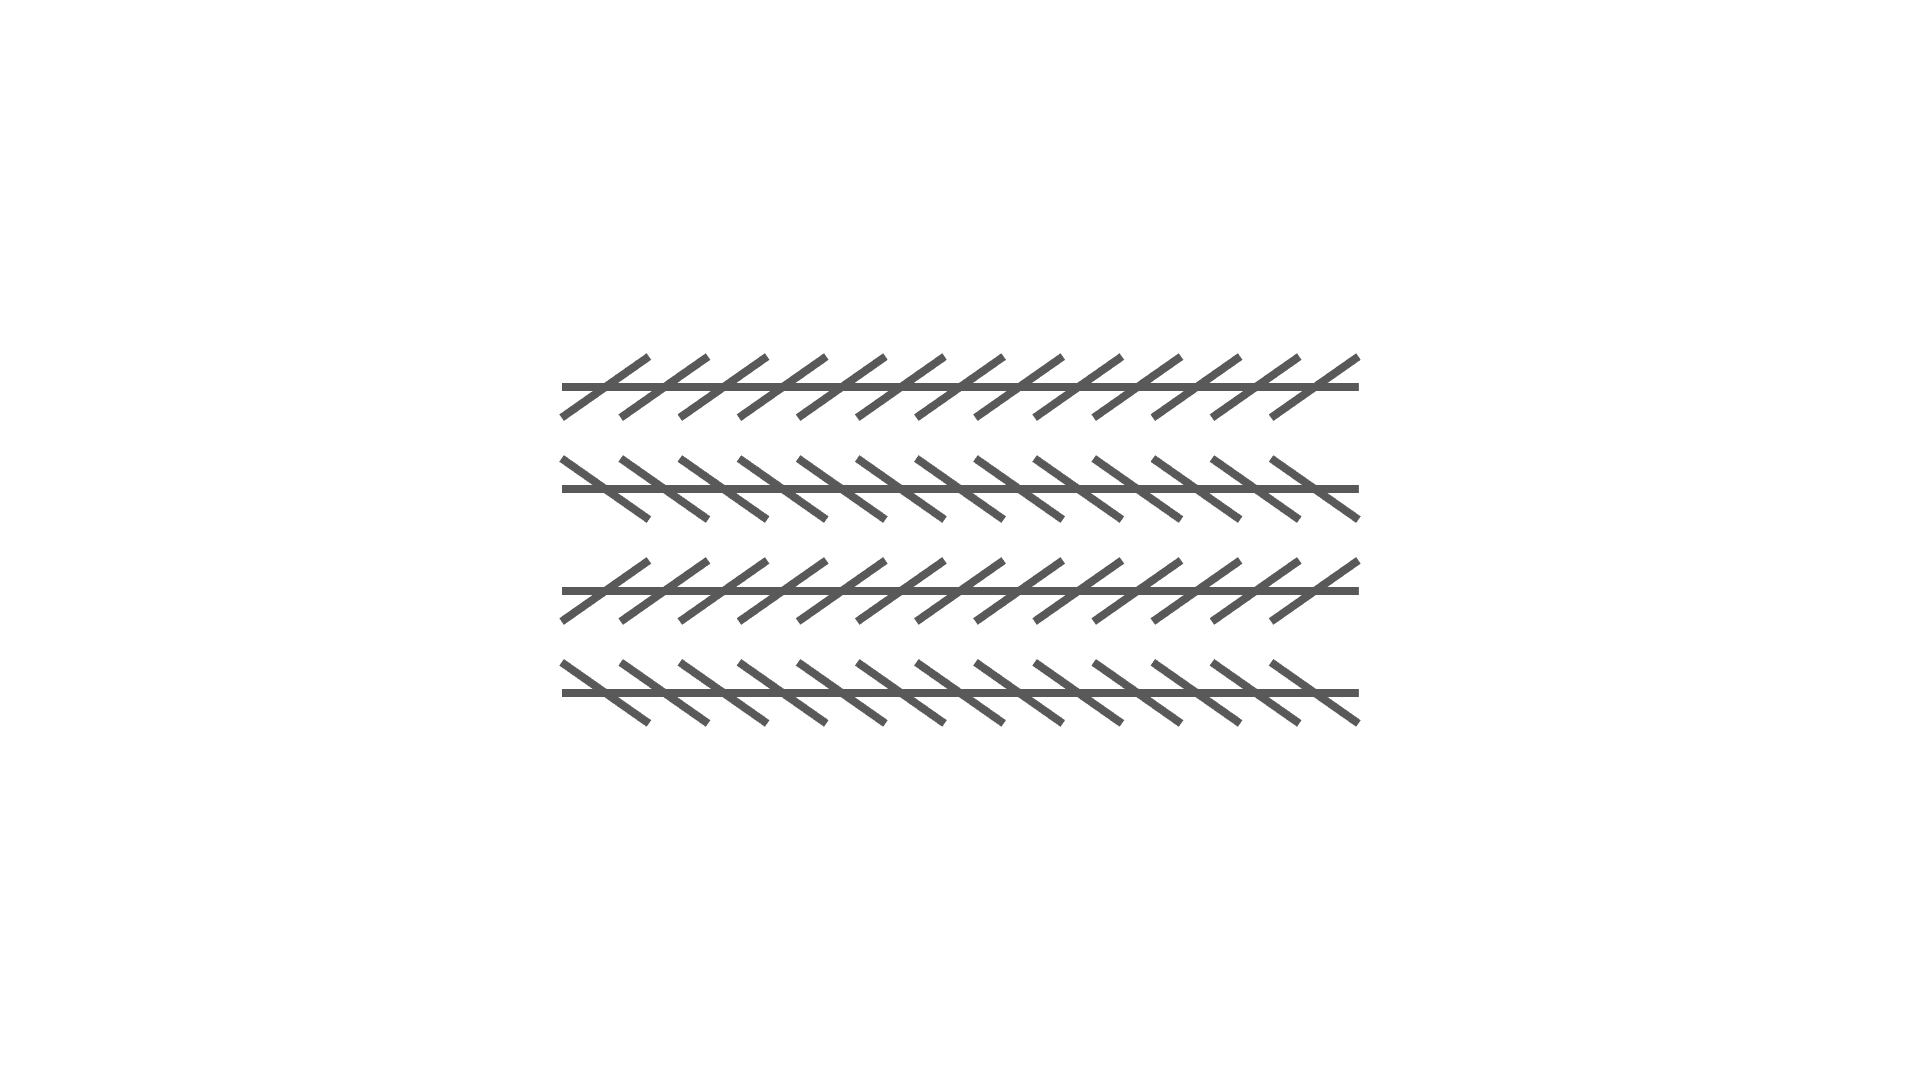
This is an easy way to create the Zöllner illusion with Powerpoint. If you get used to it, you can do it in about one to two minutes. Please check the angle to maximize the illusion by yourself.
How to make the Zöllner illusion (video)
This is a video of how to make it. If you are watching from a PC, you can change the playback speed by clicking on the “︙” button at the bottom right of the video.
How to make the Zöllner illusion
- Select “Shape” > “Line” > “Line” to draw a vertical line (you can change the color and thickness as you like).
- Adjust the horizontal position of the rightmost (or leftmost) line (either to the left or to the right).
- Select all the lines you have created and go to “Align” and then “Align Left/Right”.
- Select all the lines you have created and do Align > Center Top and Bottom.
- Select “Grouped Shapes” and press ⌘ (Ctrl in Windows) and D to duplicate it, then Align > Rotate > Flip Left/Right.
- Select the source shape and the flipped shape, and press ⌘ and D to duplicate them.
- Select all the shapes, then Align > Center Left and Right, then Align > Align Top and Bottom to complete.
data
The images and PowerPoint files I created are placed below. Please feel free to use them (within the terms of use).

Reference
Zöllner, F. (1860). Über eine neue Art von Pseudoskopie und ihre Beziehungen zu den von Plateau und Oppel beschriebenen Bewegungsphänomenen. Annalen der Physik und Chemie, 110, 500–523.
https://www.semanticscholar.org/paper/Ueber-eine-neue-Art-von-Pseudoskopie-und-ihre-zu-Z%C3%B6llner/99479bed05eede2ed43177341c862b4b1681a8bf


